Table of Contents
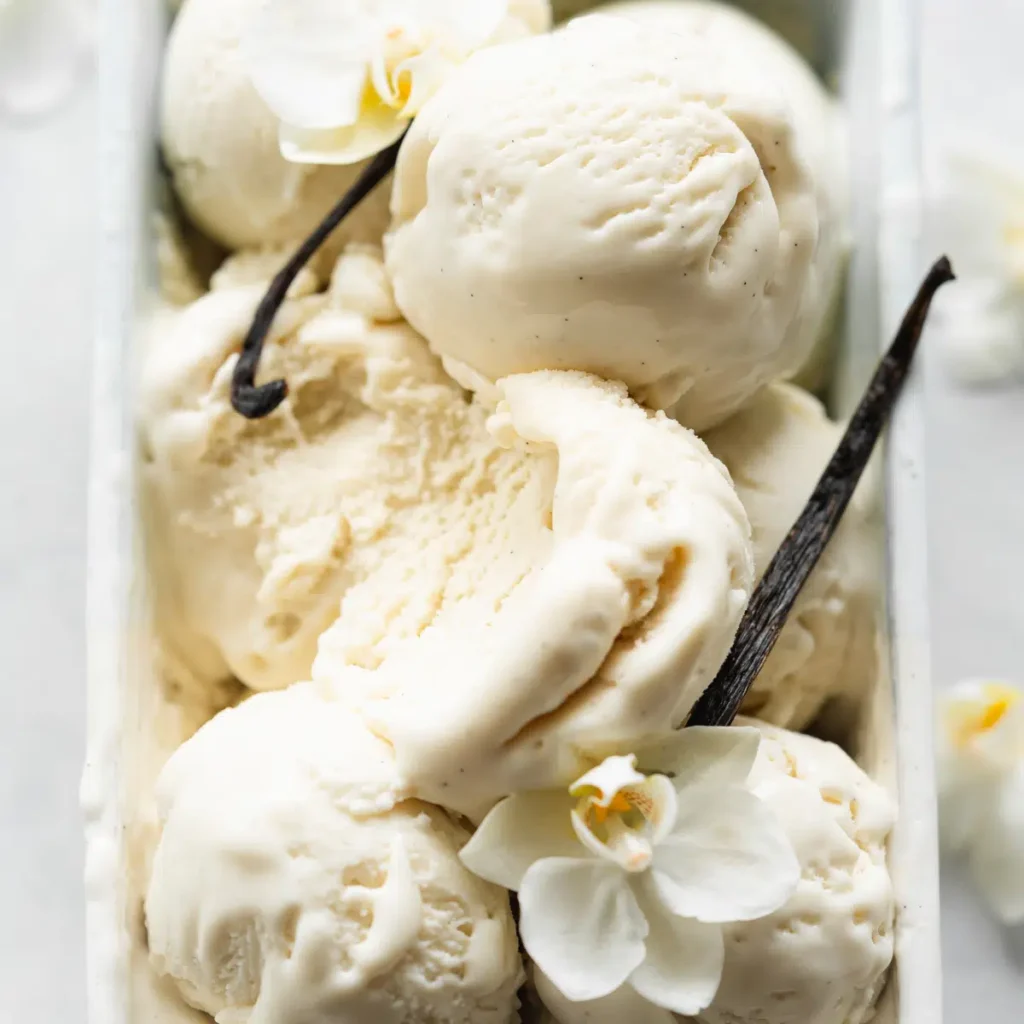
Making lactose-free ice cream at home is a delightful way to enjoy a creamy, delicious treat without the discomfort caused by lactose intolerance. This guide will walk you through the steps to create your own lactose-free ice cream, ensuring that you can indulge in this classic dessert with peace of mind. Our method is simple, and with a few essential ingredients, you’ll be able to craft a delectable ice cream that rivals any store-bought version.
Ingredients Needed
To start, you will need the following ingredients:
- 2 cups of lactose-free milk (such as almond milk, soy milk, or lactose-free cow’s milk)
- 1 cup of lactose-free heavy cream
- 3/4 cup of granulated sugar
- 1 teaspoon of vanilla extract
- A pinch of salt
- Optional mix-ins: chocolate chips, fruit pieces, nuts, or cookie crumbs
Step-by-Step Instructions
Preparing the Base
In a medium saucepan, combine the lactose-free milk, heavy cream, and sugar. Heat the mixture over medium heat, stirring constantly until the sugar is completely dissolved. This should take about 5-7 minutes. Do not let the mixture boil.
Adding Flavor
Once the sugar has dissolved, remove the saucepan from the heat. Stir in the vanilla extract and a pinch of salt. If you wish to make different flavors, this is the point where you can add other extracts such as mint, almond, or chocolate.
Chilling the Mixture
Allow the mixture to cool to room temperature. Once cooled, transfer it to a container, cover it, and refrigerate for at least 4 hours or overnight. This chilling process is crucial as it allows the mixture to thicken and the flavors to meld together.
Churning the Ice Cream
Pour the chilled mixture into your ice cream maker. Follow the manufacturer’s instructions for churning. Typically, this process takes about 20-25 minutes. The mixture should start to resemble soft-serve ice cream.
Adding Mix-Ins
During the last 5 minutes of churning, you can add any desired mix-ins. This could include chocolate chips, fruit pieces, nuts, or cookie crumbs. Make sure the mix-ins are evenly distributed throughout the ice cream.
Freezing
Once the churning is complete, transfer the ice cream to a lidded container. Place a piece of plastic wrap directly on the surface of the ice cream to prevent ice crystals from forming. Cover the container with its lid and freeze for at least 2 hours, or until the ice cream is firm.
Tips for Perfect Lactose-Free Ice Cream
Use High-Quality Ingredients
The quality of your ingredients will significantly impact the flavor and texture of your ice cream. Opt for the best lactose-free milk and cream you can find.
Control the Sweetness
Feel free to adjust the amount of sugar to suit your taste. If you prefer a less sweet ice cream, reduce the sugar by 1/4 cup.
Experiment with Flavors
Don’t hesitate to get creative with flavors. Consider adding cocoa powder for a chocolate version, or fresh fruit purees for a fruity twist.
Storage Tips
Homemade ice cream is best enjoyed within a week of making it. Store it in an airtight container in the coldest part of your freezer to maintain its creamy texture.
Health Benefits of Lactose-Free Ice Cream
Lactose-free ice cream allows those with lactose intolerance to enjoy a beloved dessert without the digestive issues that come with traditional ice cream. Using lactose-free milk and cream not only makes this dessert accessible but also often incorporates health alternatives such as almond or soy milk, which can be lower in calories and fat.
Conclusion
Making lactose-free ice cream at home is not only possible but also incredibly rewarding. With a few simple steps and high-quality ingredients, you can enjoy a creamy, delicious dessert tailored to your dietary needs. Whether you stick with the classic vanilla or experiment with your own flavors, this homemade treat is sure to delight.
